Signals at Brereton Sidings
last updated 16 September 2007

Signals at Brereton Sidings |
Home |
Signals |
Flower Power |
Bumblebees |
Bands |
CD collection |
Music links |
Malvern |
Photos |
Musings |
Adrianisms |
Library |
Spiralize |
Karnataka |
last updated 16 September 2007 |
|
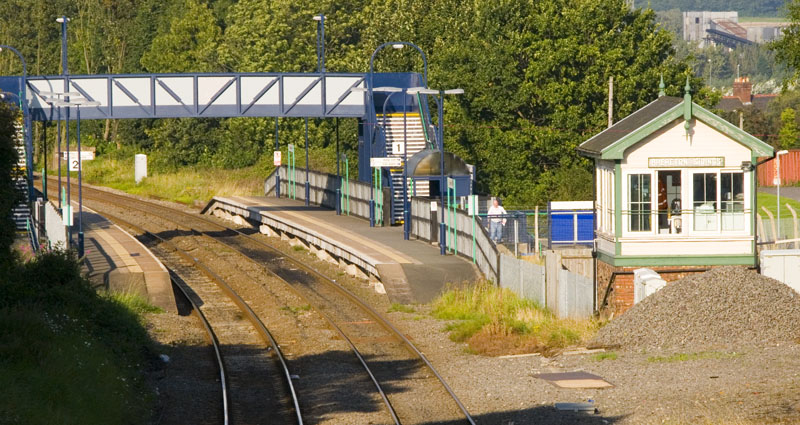 |
Brereton Sidings signalbox is at the south end of Rugeley Town station on the Chase line (Walsall-Rugeley). It acts as the fringe box to Colwich, where a panel controls the main lines through Rugeley Trent Valley, and controls the junction leading to Rugeley power station. |
| The other side of the station, there is an impressive collection of signals. The power station junction is just round the curve beyond the two-arm shunting signal in the distance. | 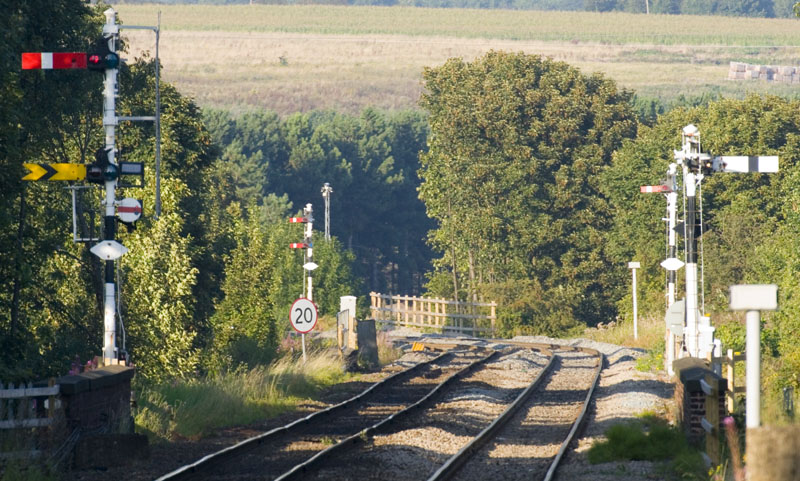 |
 |
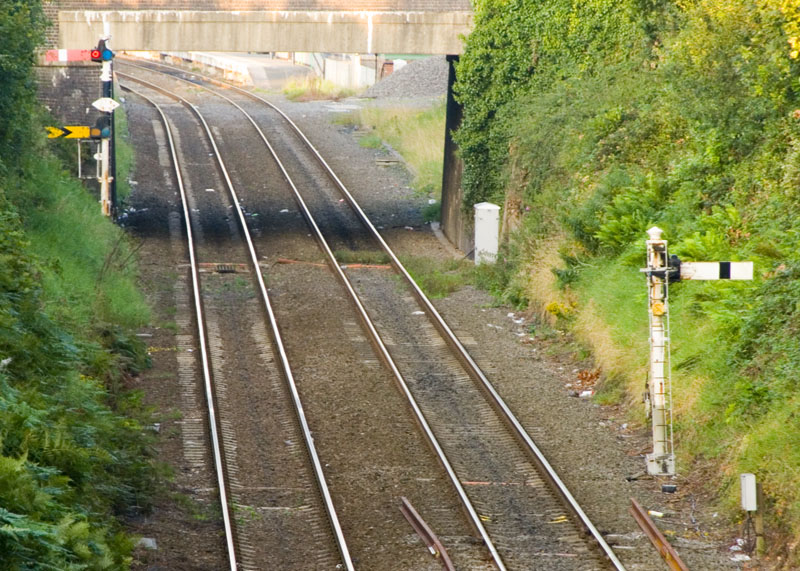
A closer view of the main line signal in the above photo, which is the down starter. Beneath that is an inner fixed distant for Colwich's panel. The disc controls moves into the power station; its route indicator originally had a second stencil when there was also a branch into Lea Hall colliery. |
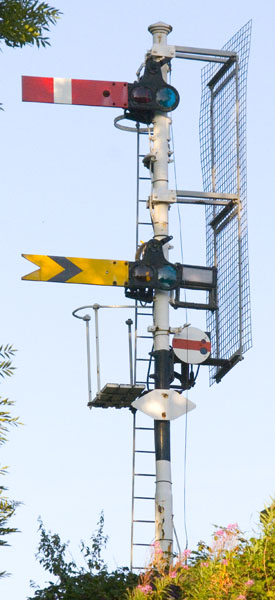
| Opposite the above signal is the up home 2. | 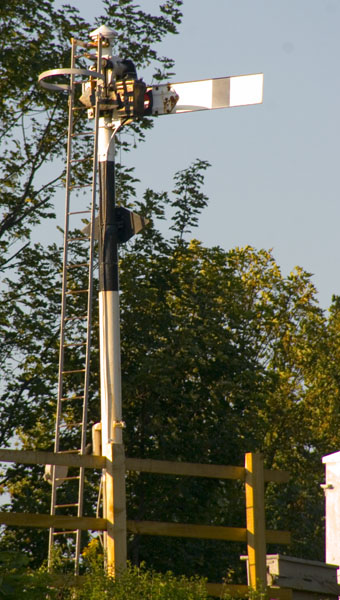 |
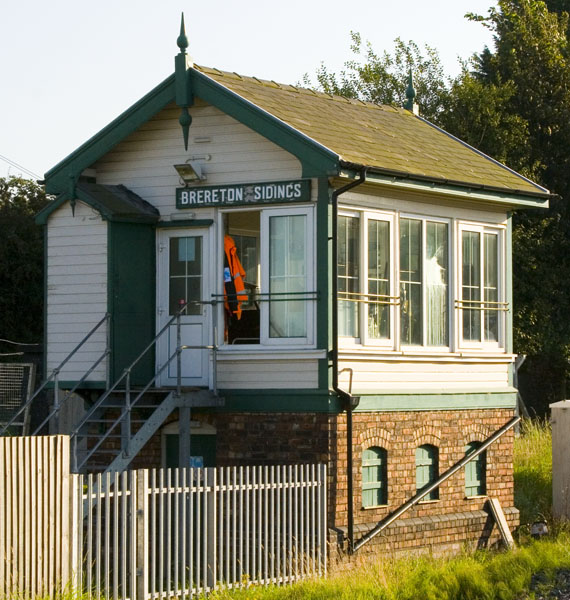 |
A closer shot of the signalbox. |
| This was the best shot I could get of the signals protecting the converging junction. On the left is the power station exit signal; on the right the up home 1. | 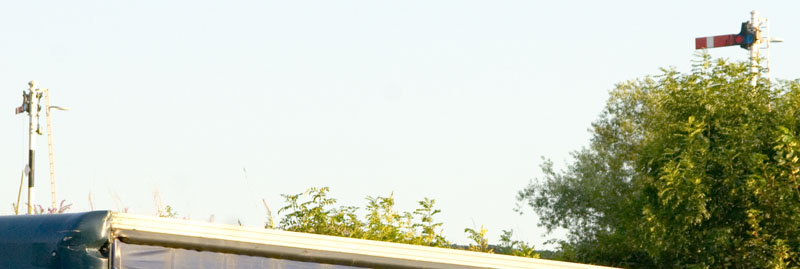 |
 |
The down home also carries an outer fixed distant for the panel at Colwich. In the foreground is the up starter, and Rugeley Town station's platforms can be seen beyond the bridge. |
| In the opposite direction is the up starter. | 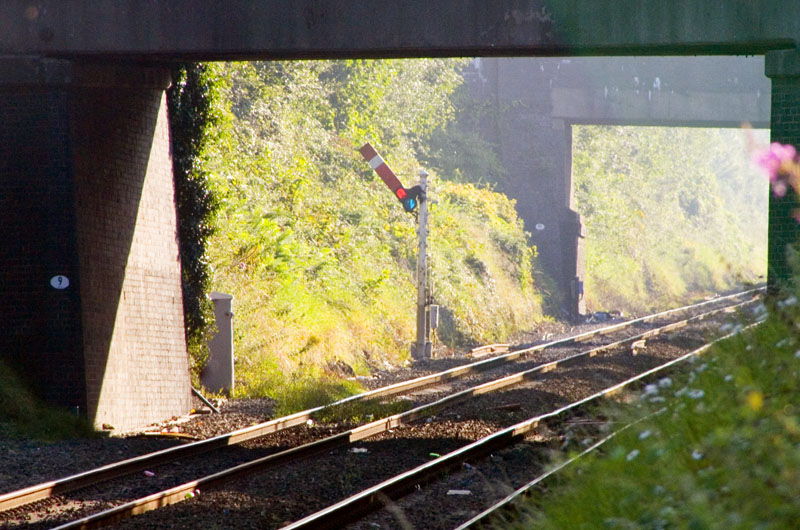 |
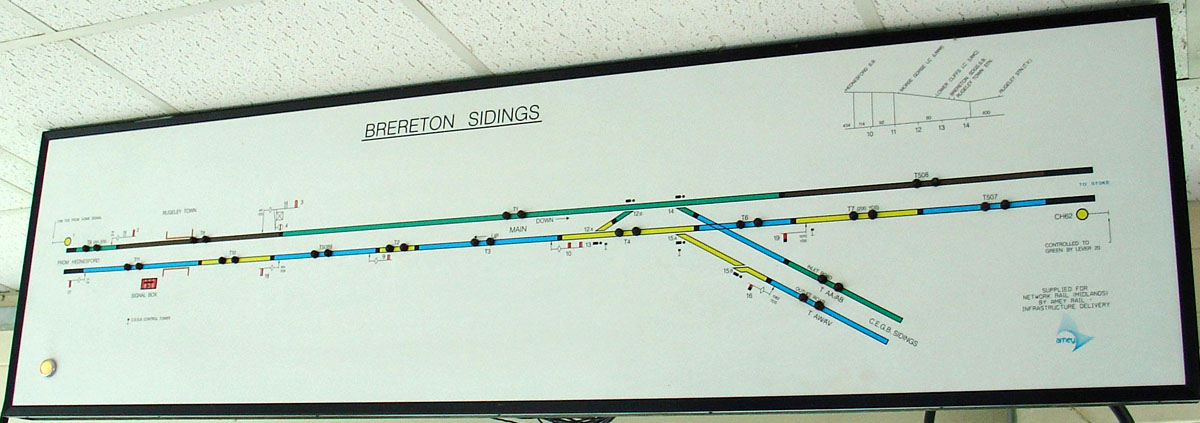
Thanks to Richard Pike for sending me this photo of the signalbox diagram.
 |
Home |
Signals |
Flower Power |
Bumblebees |
Bands |
CD collection |
Music links |
Malvern |
Photos |
Musings |
Adrianisms |
Library |
Spiralize |
Karnataka |
|
©2007 |